Choosing the right thermal shock test chamber is critical for accurate reliability testing. The fundamental choice often boils down to two main types: Two-Zone (Dual Chamber) and Three-Zone (Three Chamber) thermal shock test chambers. While both serve the same ultimate purpose—testing products against rapid temperature changes—their design, operation, and ideal applications differ significantly.
Core Working Principle: The Fundamental Difference
The key difference lies in how the sample moves between extreme temperatures.
Two-Zone Thermal Shock Chamber (Dual Chamber)
- Design: Features two independent chambers: one for high temperature and one for low temperature.
- Operation: The test basket, which holds the samples, physically moves between these two chambers. A mechanical lifting system (using a hoist or elevator) rapidly transfers the basket from the high-temperature zone to the low-temperature zone and vice versa.
- Analogy: Think of taking a basket from a sauna and plunging it into an ice bath, then back again.
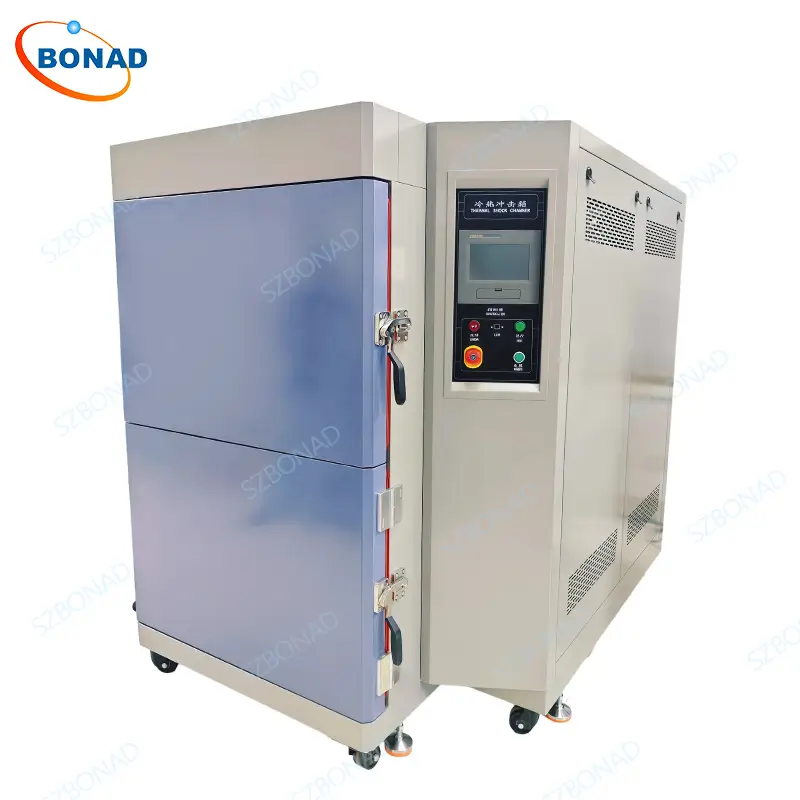
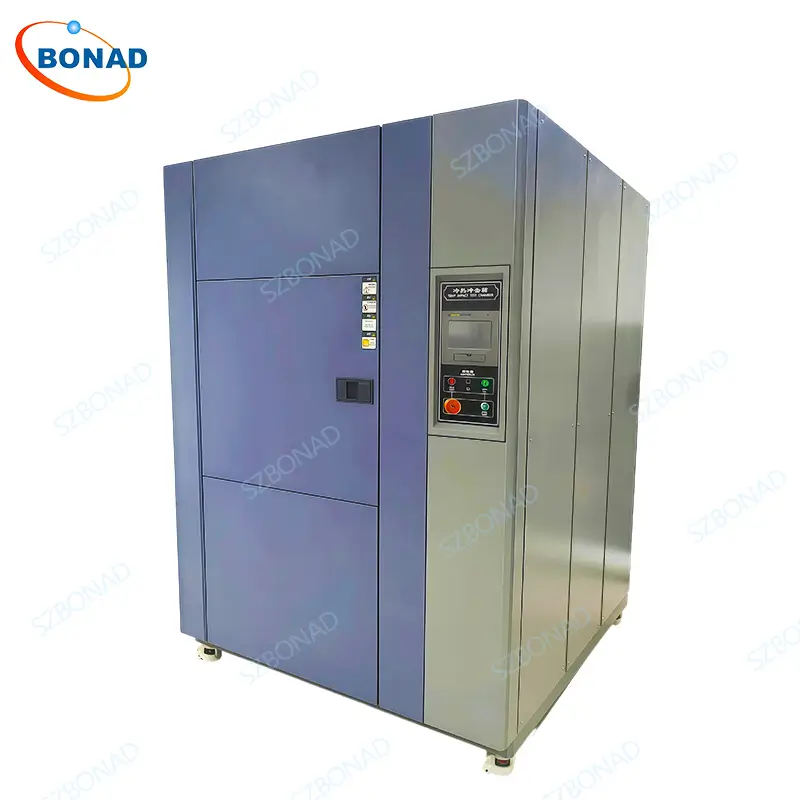
Three-Zone Thermal Shock Chamber (Three Chamber)
- Design: Features three chambers: a high-temperature zone, a low-temperature zone, and a neutral or ambient zone in the middle where the test sample is always housed.
- Operation: The test sample remains stationary in the middle chamber. Instead of moving the sample, dampers or doors open and close to channel pre-conditioned air from either the high or low zone into the middle chamber, rapidly changing the temperature around the static sample.
- Analogy: Think of a room where you can instantly switch the air from a furnace’s air to a freezer’s air.
Comparison Table: Two-Zone vs. Three-Zone
| Feature | Two-Zone (Dual Chamber) Thermal Shock | Three-Zone (Three Chamber) Thermal Shock |
|---|---|---|
| Working Principle | Moving Basket. The sample basket shifts between fixed hot and cold zones. | Static Sample. Hot or cold air is directed to the stationary sample in the middle zone. |
| Temperature Recovery | Faster recovery after basket transfer, as chambers are always at target temperatures. | Slightly slower recovery time as air from the extreme zones mixes in the test zone. |
| Mechanical Stress | Higher mechanical stress on the sample due to physical movement and acceleration. | No movement-induced stress. Purely thermal stress is applied. |
| Chamber Size | Generally more compact footprint for the same test volume. | Typically requires a larger overall footprint due to the three-chamber design. |
| Load Capacity | Ideal for testing many small components or products on a basket. | Excellent for testing large, heavy, or fragile products that cannot be easily moved. |
| Power Consumption | Can be more energy-efficient as chambers are sealed during transfer, minimizing thermal loss. | May consume more energy to maintain three separate zones and manage air flow. |
| Wiring for Testing | Not possible to power up devices under test (DUTs) during the transfer between chambers. | Possible to wire and monitor devices under test during the entire cycle as samples don’t move. |
| Best For | Components, PCBs, small electronic parts. Tests where mechanical movement is not a concern. | Larger devices, assembled products, fragile items, powered DUTs. Tests requiring pure thermal stress only. |
How to Choose: Which One is Right for You?
Your choice depends entirely on your test standards and the products you are testing.
- Choose a Two-Zone Chamber if:
- You are testing small, robust components like electronic chips, PCBs, or connectors.
- Your test standard requires a very rapid transfer time (e.g., <10 seconds).
- Physical movement of the sample does not interfere with the test parameters.
- Space and energy efficiency are important factors.
- Choose a Three-Zone Chamber if:
- You are testing large, heavy, or delicate products (e.g., a complete smartphone, a car module, a large battery pack).
- You need to power up and monitor the Device Under Test (DUT) throughout the entire temperature cycle.
- Your test must apply pure thermal shock without any additional mechanical stress from vibration or movement.
- Your test standards specify a static sample.
Partner with the Right Supplier
Understanding this distinction ensures you select the equipment that delivers the most accurate and reliable results for your specific application. BONAD offers comprehensive expertise and supplies both high-quality two-zone and three-zone thermal shock test chambers. We can guide you in selecting the right model and even provide customized solutions tailored to your unique testing requirements and standards.